Hello friends! Today I’m sharing a Birthday card tutorial featuring a super old but still fabulous technique – inlay die cutting. This technique has been around for ages and there are many many different ways to do it, one of my favorite ways is to use it with some sort of double sided adhesive sheets to make the whole process much easier and honestly – much faster.
Like this project? Pin it and save for later | Curious about my project photography? Click for details.
The die that I used to do the inlay die cutting is Spellbinders Large Die Of the Month for the month of June 2018. This month its 2 beautiful oversized corner floral dies. These both look fabulous when die-cut on their own (like I shared here) or with the inlay die cutting.
VIDEO TUTORIAL
As always, I filmed a video tutorial showing how to create this project from start to finish. I’m hoping you’ll enjoy it. Watch it below or on my Youtube channel:
Like this video? Please give it a big thumbs up (you can do this on Youtube video page right under the video) and share with a crafty friend! Leave me a comment too, I love hearing from you!
CARDS DETAILS
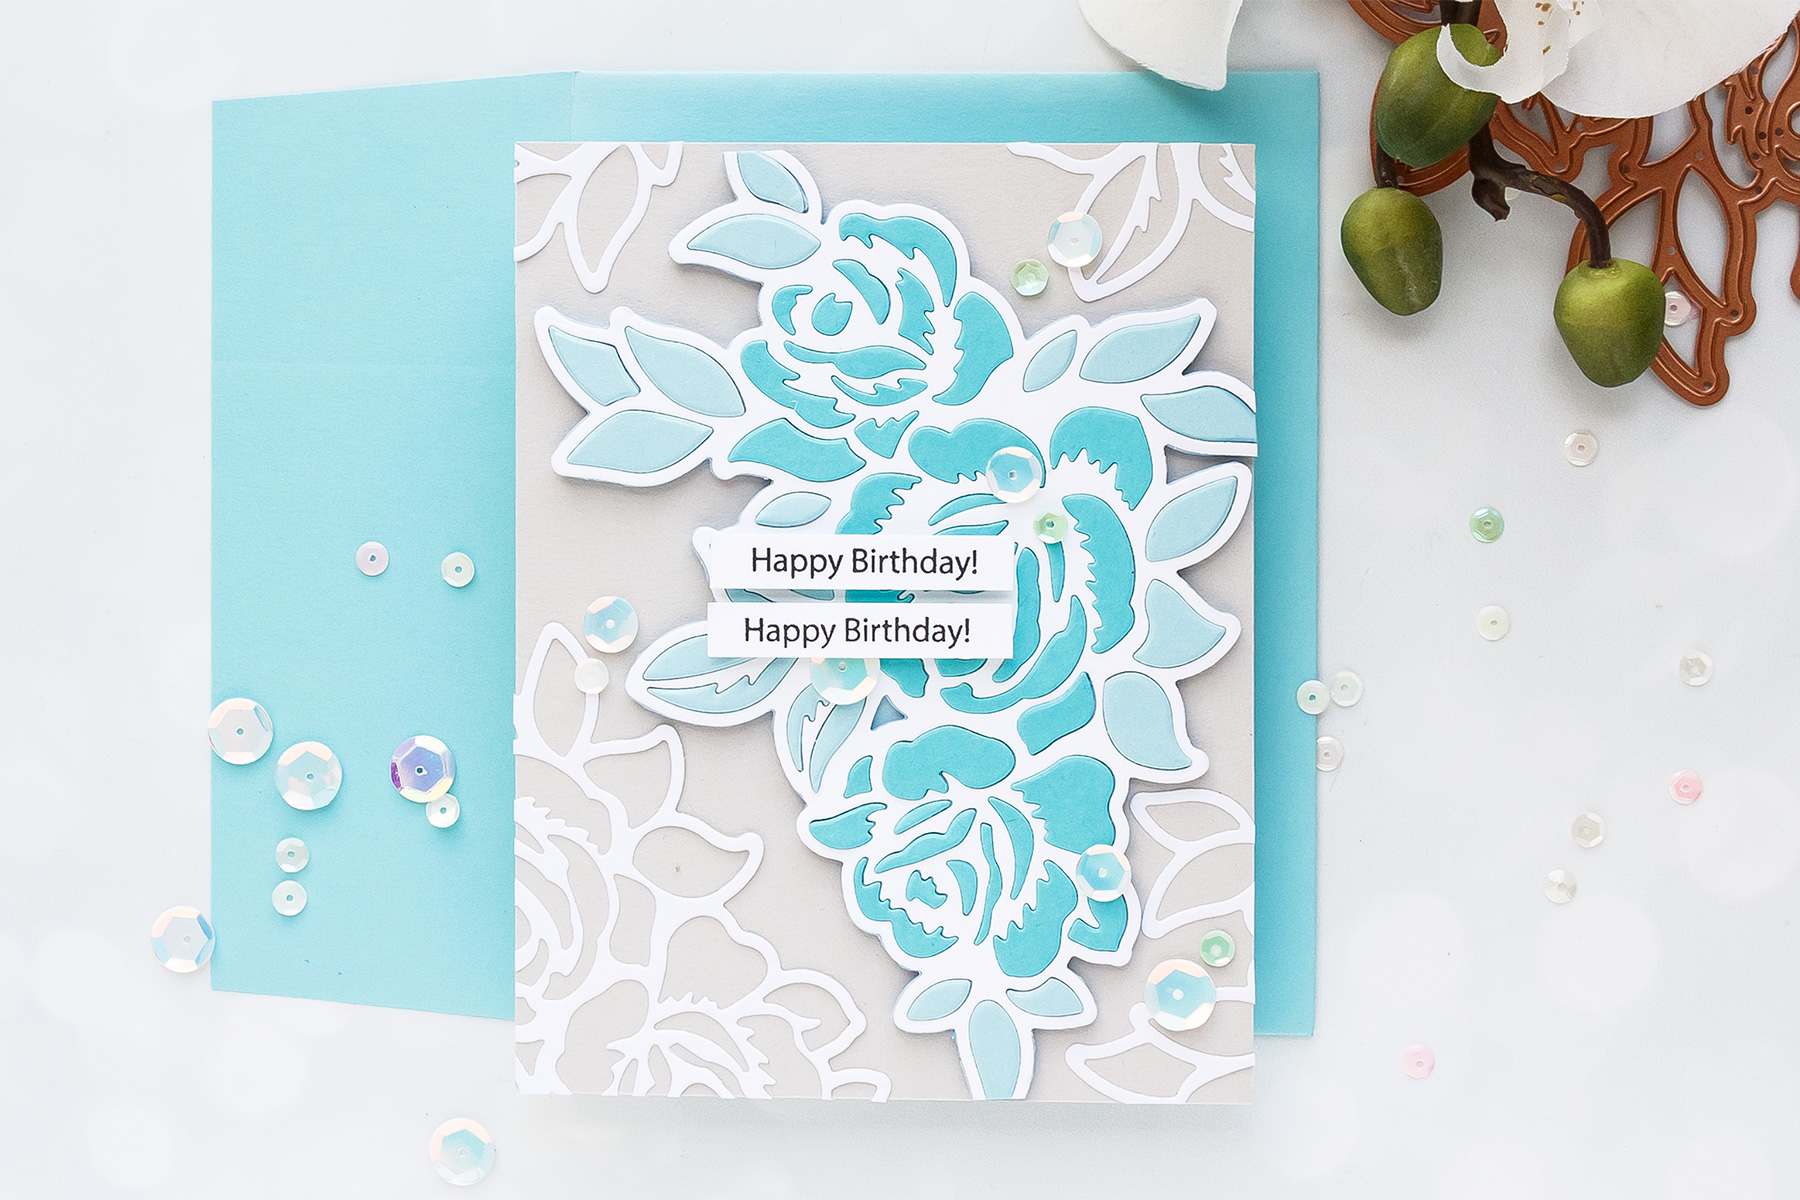
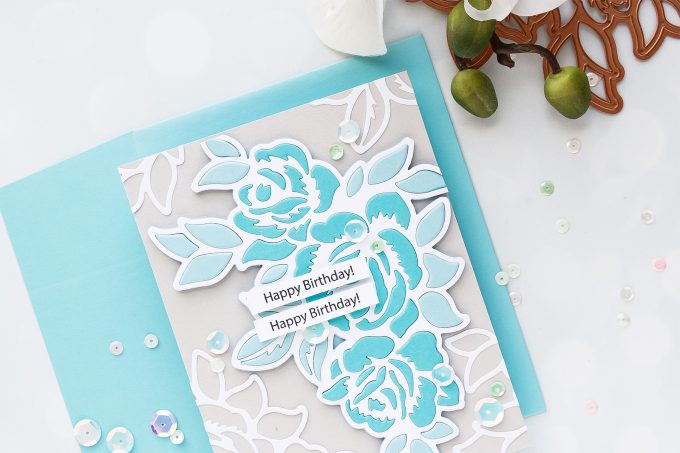
I went with white, light blue and light gray colors for my card today. I also used blue fun foam (I prefer to use white, but I have no white left at the moment so I decided to start depleting my stash of colored fun foam and thus picked blue as it matched best in color to my card) and double sided sticky sheets from Scrapbook Adhesives.
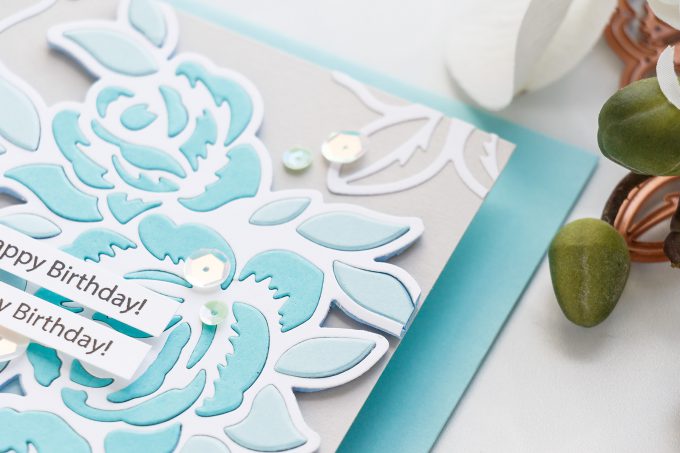
I like to use fun foam with my die cuts because I like the look of extra dimension on my cards. And fun foam will give you impressive dimension with just one layer and it will keep your card very light (so it will not weigh a lot in terms of postage).
You can use cardstock and just die-cut a number of cardstock die cuts, adhere them together and have the same look, but its going to take longer, because instead of adhering 2 layers – a cardstock and a fun foam layer, you are actually adhering 4 or 5 layers together and that takes time.
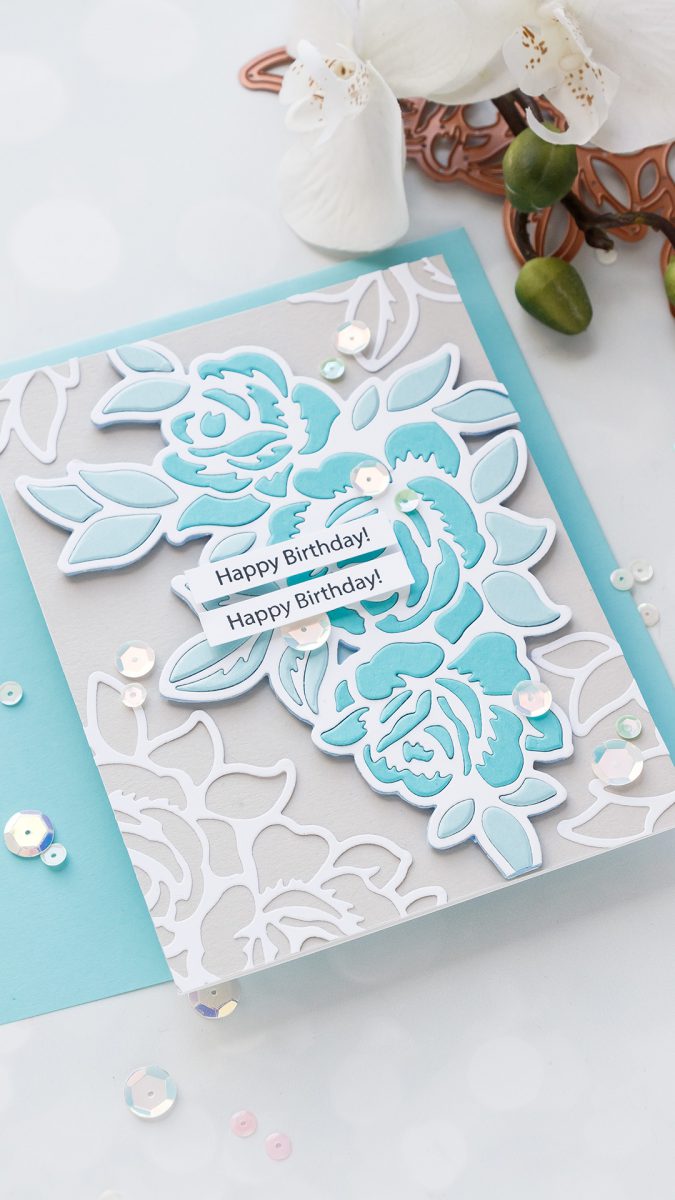
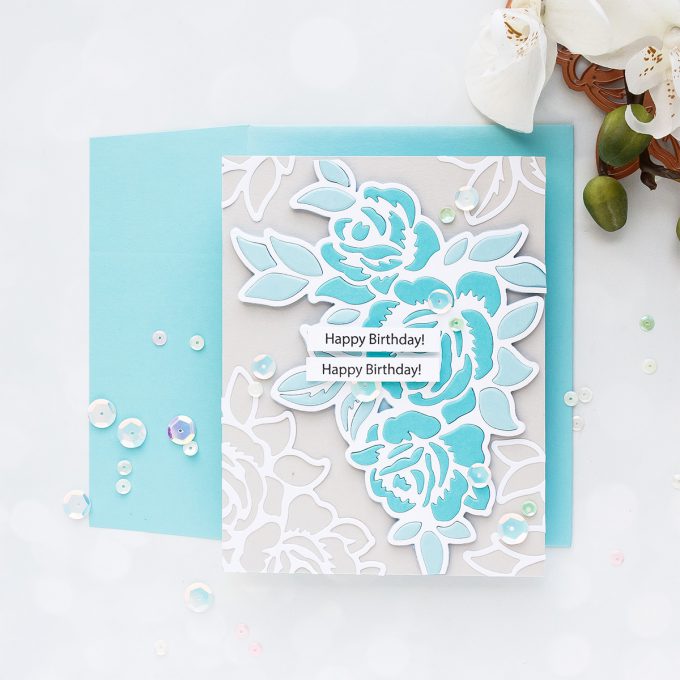
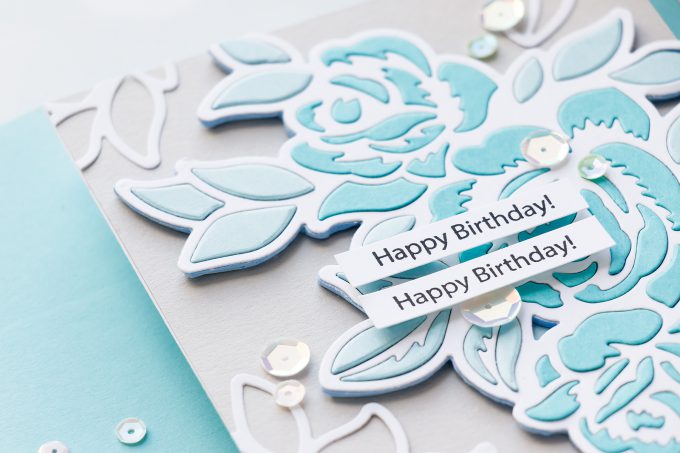
I started working on my card by adding a sheet of double-sided adhesive onto each size of my fun foam. Next, I die-cut it using my corner floral die in my Platinum machine. I adhered my fun foam die cut onto a background and next started on my inlay process. I used a white die cut for the ouline and next inlaid leaves using a light blue color and flowers using a dark blue.
Once my focal piece was complete I also die-cut another corner floral out of white cardstock and used it to fill in the background on my card to create a lace like floral background. I feel like this adds a ton of interest and makes it much more elegant and delicate looking.
To create a sentiment I stamped Happy Birthday using Messages for Every Day stamp set from Simon Says Stamp, I was in need of a Birthday card, I cut it into a strip and foam mounted onto the card – I actually did two strips. Finally I embellished this card using pretty sequins in similar colors.
MORE INSPIRATION
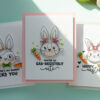
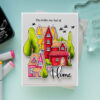
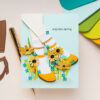
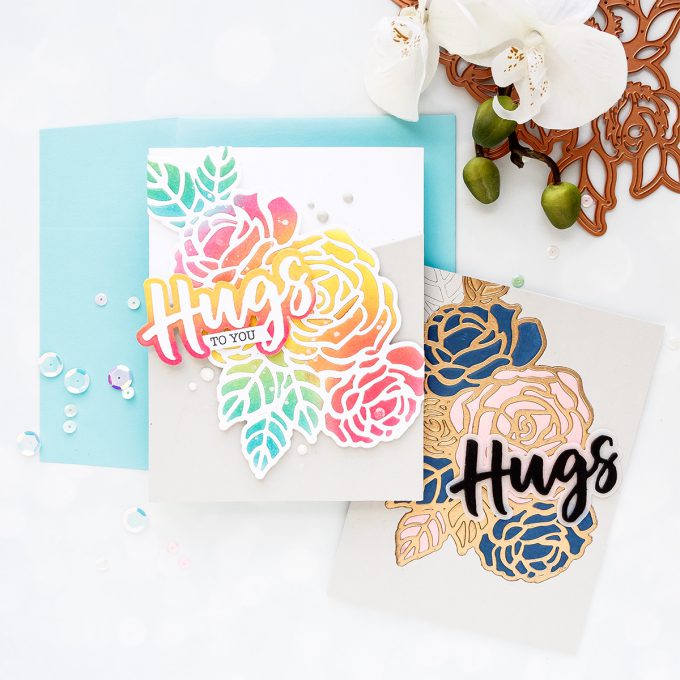
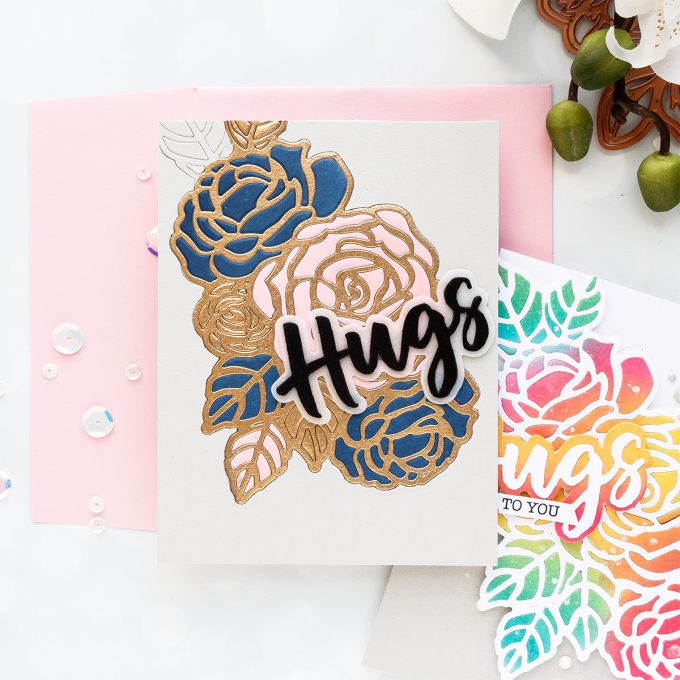
Here are photos of the other two cards I made using this die set:
I ink blended pigment inks from Avery Elle to create a pop of color, die cut it and inlayed into a white floral outline. I added Hugs To You sentiment and white Nuvo Drops to complete this card.
To make this card I heat embossed floral die cut (together with the negative die cut pieces) using Antique Gold embossing powder from Simon Says Stamp. Next, I blended Rosie Cheeks and Deep Sea inks onto two cardstock panels to create paper of the color that I needed. I die-cut both and inlayed into my gold outline.
SPELLBINDERS SMALL AND LARGE DIE CLUBS OF THE MONTH
Spellbinders Small Die Of The Month Subscription program is just $7.5 a month plus shipping, flat rate USA shipping is $5. This ends up being $12.50 a month; if you live outside the USA – shipping cost depends on your location. The Large Die Of The Month Subscription is $20 plus shipping.
These dies are not available for purchase separately, you can only buy them as a member of a club. If they don’t sell out you can buy them next month, but the price is higher. So it pays to join the club and enjoy all of the club benefits. You also get extra 10% off all other Spellbinders products as a member of the club.
If you want to get either or both of these dies, but don’t want to join the club – you can join for June, pay for the dies and cancel your subscription. The June dies will ship, but you will not be billed monthly.
SPELLBINDERS VALUE CLUBS
You can also subscribe to both clubs if you like, Spellbinders has value clubs available, so if you want to subscribe to both the value club you’ll want to join is Die Hard, and it’s $25 per month plus shipping, so that’s both the small and large die of the month.
SUPPLIES
I’m listing the products I used below. Click on the link to go directly to the product. Where available I use compensated affiliate links which means if you make a purchase I receive a small commission at no extra cost to you. Thank you so much for your support!
 Spellbinders Large Die Of The Month Membership Shop at: SPEL |
 Spellbinders Die Hard Value Club Membership Shop at: SPEL |
 Spellbinders Magnetic Handy Mat Shop at: SSS | SC | SPEL | AZ |
 Spellbinders Tool ‘n One Shop at: SSS | SC | SPEL | AZ |
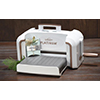 Spellbinders Platinum Die Cutting Machine Shop at: SSS | SC | SPEL | AZ |
 Spellbinders Main Attraction Magnetic Die Finder Shop at: SSS | SC | SPEL | AZ |
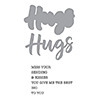 Spellbinders Hugs Expressions Stamp and Die Set Shop at: SSS |
 Neenah 80LB Solar White Cardstock Shop at: SSS | AZ |
 Neenah 110 Lb Solar White Cardstock Shop at: SSS | AZ |
 Simon Says Stamp Fog Gray Cardstock Shop at: SSS |
 Simon Says Stamp Butterfly Kisses Sequins Shop at: SSS |
 Simon Says Stamp Sea Glass Cardstock Shop at: SSS |
 Simon Says Stamp Audrey Blue Cardstock Shop at: SSS |
 Simon Says Stamp Surf Blue Cardstock Shop at: SSS |
 Tsukineko VersaFine Onyx Black Ink Shop at: SSS | AZ |
 Crystal Ninja Crystal Katana Pick Up Tool Shop at: SSS | AZ |
 White Fun Foam 12 Pack 9 x 12 Shop at: SSS | AZ |
 Scrapbook Adhesives Adhesive Sheets Shop at: SSS | AZ |
 Tonic Deluxe Adhesive Nuvo Glue Shop at: SSS | SC | AZ |
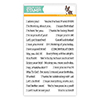 Simon Says Clear Stamps Messages for Everyday Shop at: SSS |
Such gorgeous cards! Love the colors. Hope your day is great
Another fabulous technique demonstrated by yourself Yana. This is a very tricky technique with all the bits of die cut pieces but as you say using sticky backgrounds both sides helps a lot. I do though think the technique is very, very effective and I will be continuing to use it with my large detailed dies. Thank you for sharing this with us crafters Yana. :O)
Fantastic set of cards!!
Your cards are gorgeous! I love the soft colors on the first one 🙂
Beautiful card for many occasions indeed. I really enjoy the inlay technique. Thanks for the tips using sticky paper and fun foam.
Beautiful technique. Can’t wait to try it.