A few weeks ago I had the absolute pleasure and honor of being a guest artist on WPlus9 blog. I am a big-big fan of of their designs and style and I was over the moon happy when Dawn, the owner, asked me to be a guest. I only have a handful of supplies from this company, but each stamp and die set from them is loved dearly in my little craft corner.
Like this project? Remember to pin it and save for later!
VIDEO TUTORIAL
I’ve filmed a video tutorial where I explain everything in detail. Watch my video below or on Youtube:
CARD DETAILS
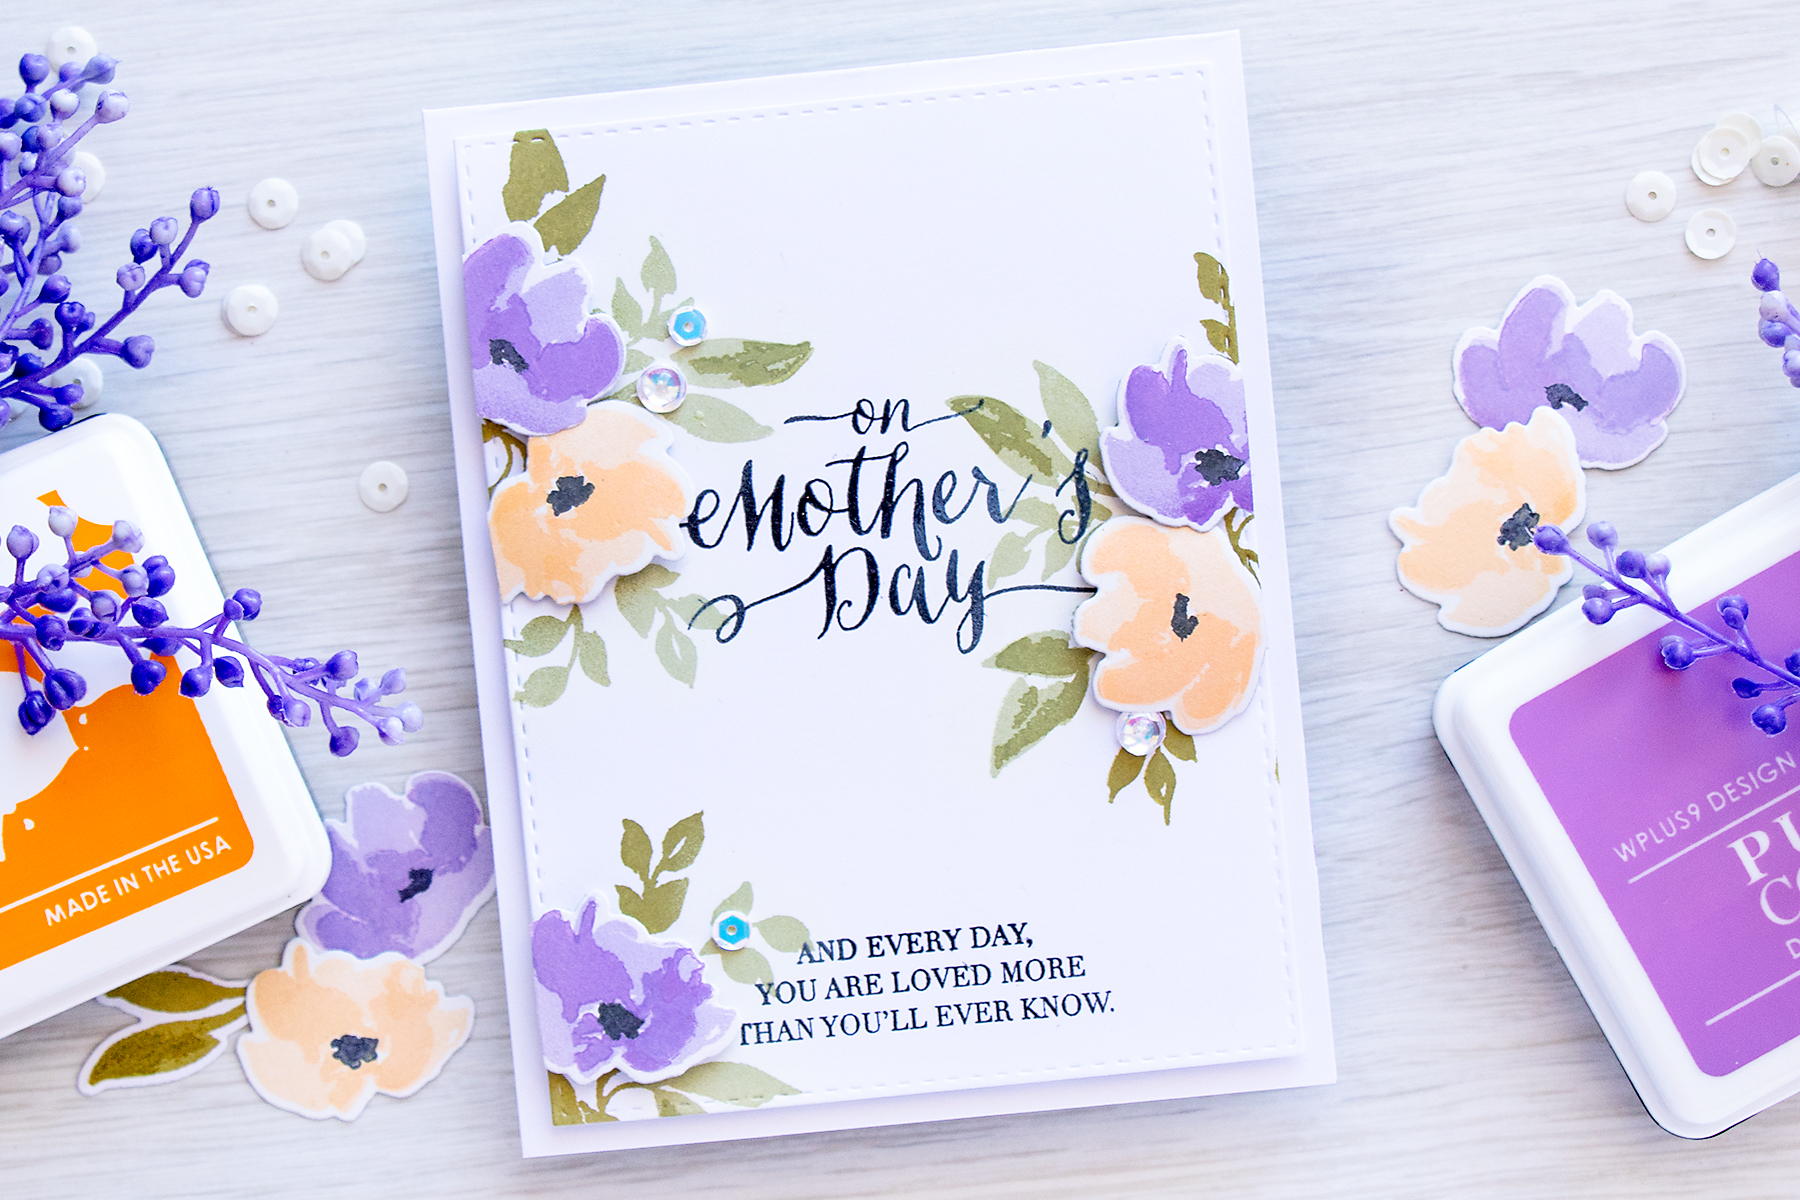
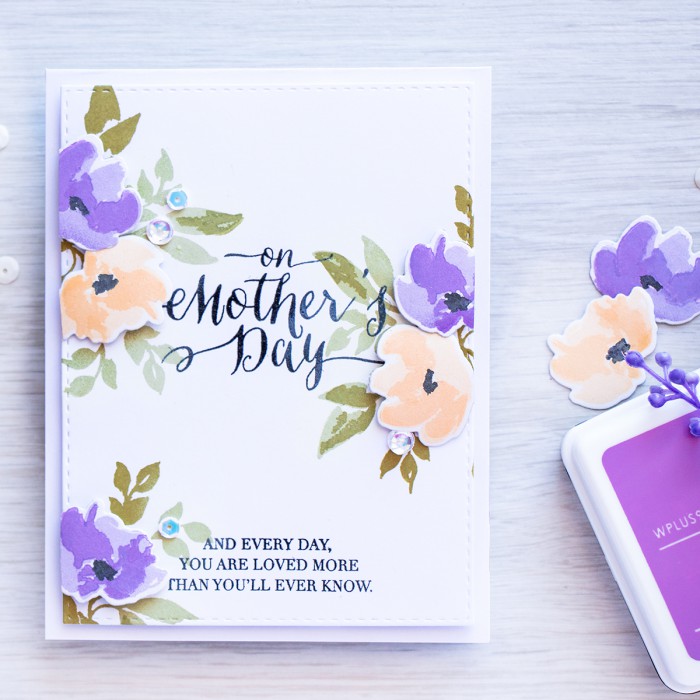
I am a huge fan of color layering stamp sets and color layering concept in general (color layering means that one image is broken down into several layers, each layer needs to be stamped using a different color of ink for best results).
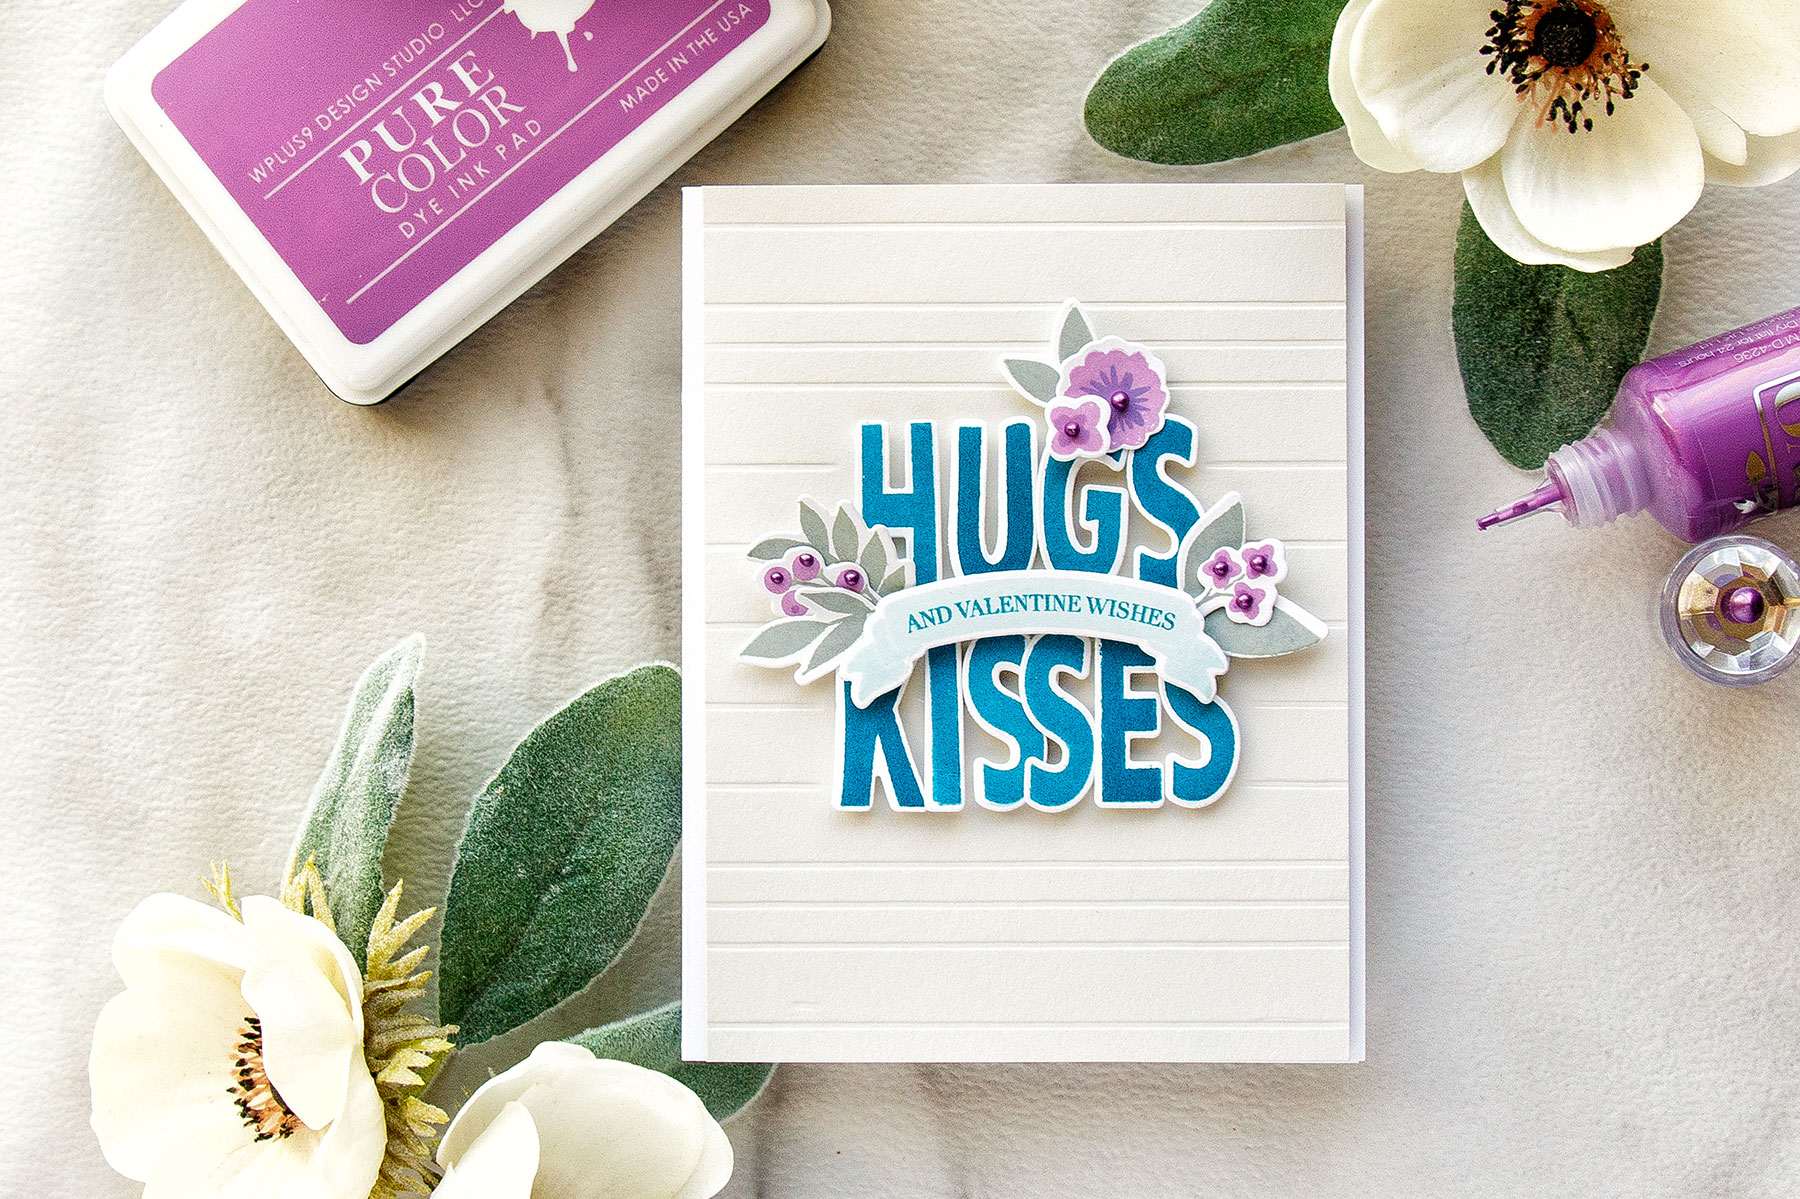
Color layering allows you to have fantastic results without much effort. I am not an artist and I can’t color, but I still love to have colored-like images on my projects and this is where color layering stamp sets come in. The problem with them however, is that one needs to have a large number of ink pads for best results. This is not a big deal for a seasoned crafter, but for a beginner this might be problematic. So with that in mind I challenged myself to use only 3 colors of ink (where at least 6 would be needed) and stretch the use of each ink pad as much as possible.
There are a number of ways one ink pad can give different colors or shades, there’s a double or even triple stamping technique where you stamp the same image several times over and over to have a more saturated and vibrant color; a second or third generation stamping technique where you first stamp the image off and than stamp onto your project.
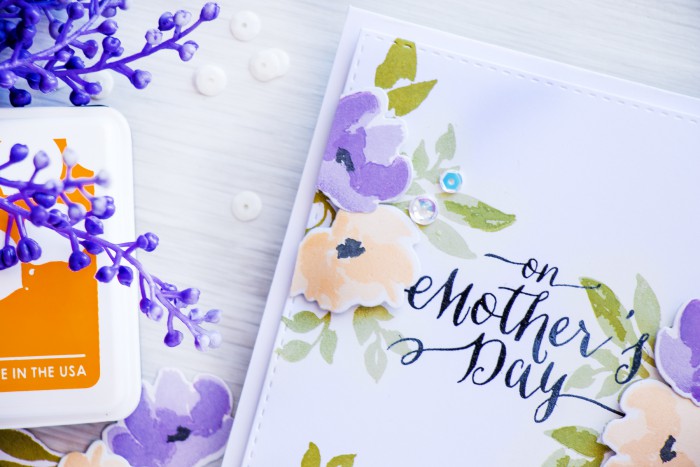
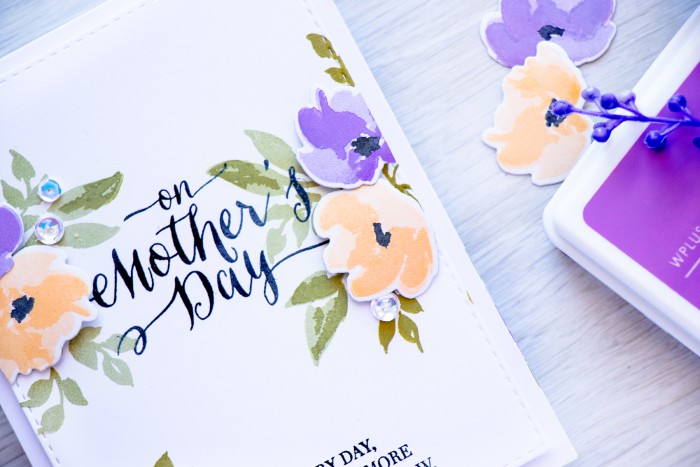
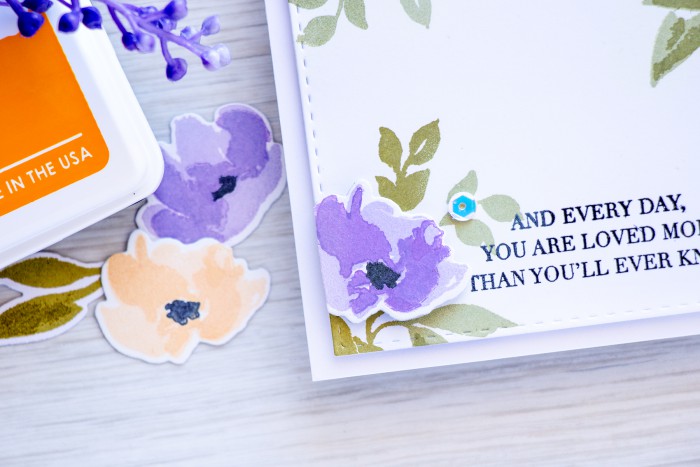
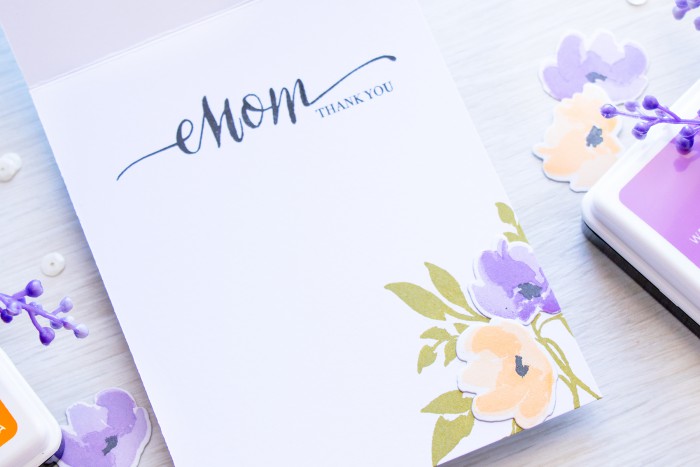
The technique I’m using today involves using a white pigment ink pad and muting the first stamped layer with a layer of white. I discovered this trick when I was trying to find a way to avoid colors mixing on a color layering image (for example when stamping blue over red).
I first stamped the sentiment in black ink and heat embossed it in clear embossing powder. Next I added stamped leaves in 3 sections around the sentiment and muted the area around it with white ink. This allowed the second detail layer of green on the leaves to pop even though I used just one color of green. The same idea was used for stamping flowers.
I also decorated the inside of the card, I don’t do this often, but I had a few left over die cut flowers and I wanted to put them to a good use.
SUPPLIES
I’m listing the products I used below. Click on the link to go directly to the product. Where available I use compensated affiliate links which means if you make a purchase I receive a small commission at no extra cost to you. Thank you so much for your support!
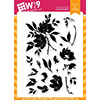 Wplus9 Watercolored Anemones Clear Stamps Shop at: SSS | WP9 |
 Wplus9 Watercolored Anemones Designer Dies Shop at: SSS | WP9 |
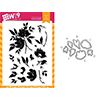 Wplus9 Watercolored Anemones Set Clear Stamp and Die Combo Shop at: SSS |
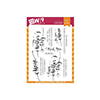 Wplus9 Strictly Sentiments 4 Clear Stamps Shop at: SSS | WP9 |
 Wplus9 Cockleshell Pure Color Dye Ink Shop at: WP9 |
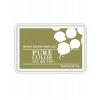 WPlus9 Appletini Pure Color Dye Ink Shop at: WP9 |
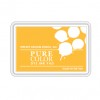 WPlus9 Wild Mango Dye Ink Pad Shop at: WP9 |
 Wplus9 Pure Color White Pigment Ink Shop at: WP9 |
 Hero Arts Heat Embossing Gun PW200 Shop at: SSS | SC | HA | AZ |
 Hero Arts Clear Embossing Powder PW104 Shop at: SSS | AZ |
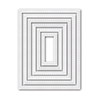 Simon Says Stamp Stitched Rectangles Dies Shop at: SSS |
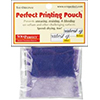 ScraPerfect Crafting Pouch Shop at: SSS | AZ |
 Best Creation Big Squares 3D Foam Tape Adhesive Shop at: SSS | AZ |
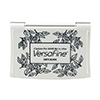 Tsukineko VersaFine Onyx Black Ink Pad Shop at: SSS | AZ |
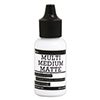 Ranger .5 Oz. Multi Medium Matte Adhesive Shop at: SSS | PPP | AZ |
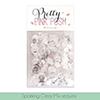 Pretty Pink Posh Sparkling Clear Sequins Mix Shop at: SSS | PPP |
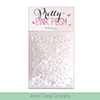 Pretty Pink Posh 4MM Clear Droplets (small) Shop at: SSS | PPP |
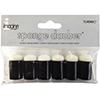 Tsukineko 6 Sponge Daubers Tools Shop at: SSS | AZ |
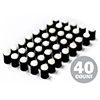 Sponge Daubers – 40 Pack Shop at: SC | AZ |
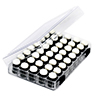 Sponge Dauber Storage Box with 40 Sponge Daubers Included Shop at: SC | AZ |
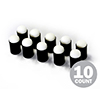 Sponge Daubers – 10 Pack Shop at: SC | AZ |
You created a stunning card and the prettiest colors with this awesome technique!!
Wplus9 takes a special place in my heart. Their designs are unique and so arty.
Congrats on being a guest there!
You card is absolutely stunning! Love the colors you used!
As always, very nice
Thank you for sharing this great tutorial! 😀
Lovely card!
Lovely card. Great tip about using white pigment ink.