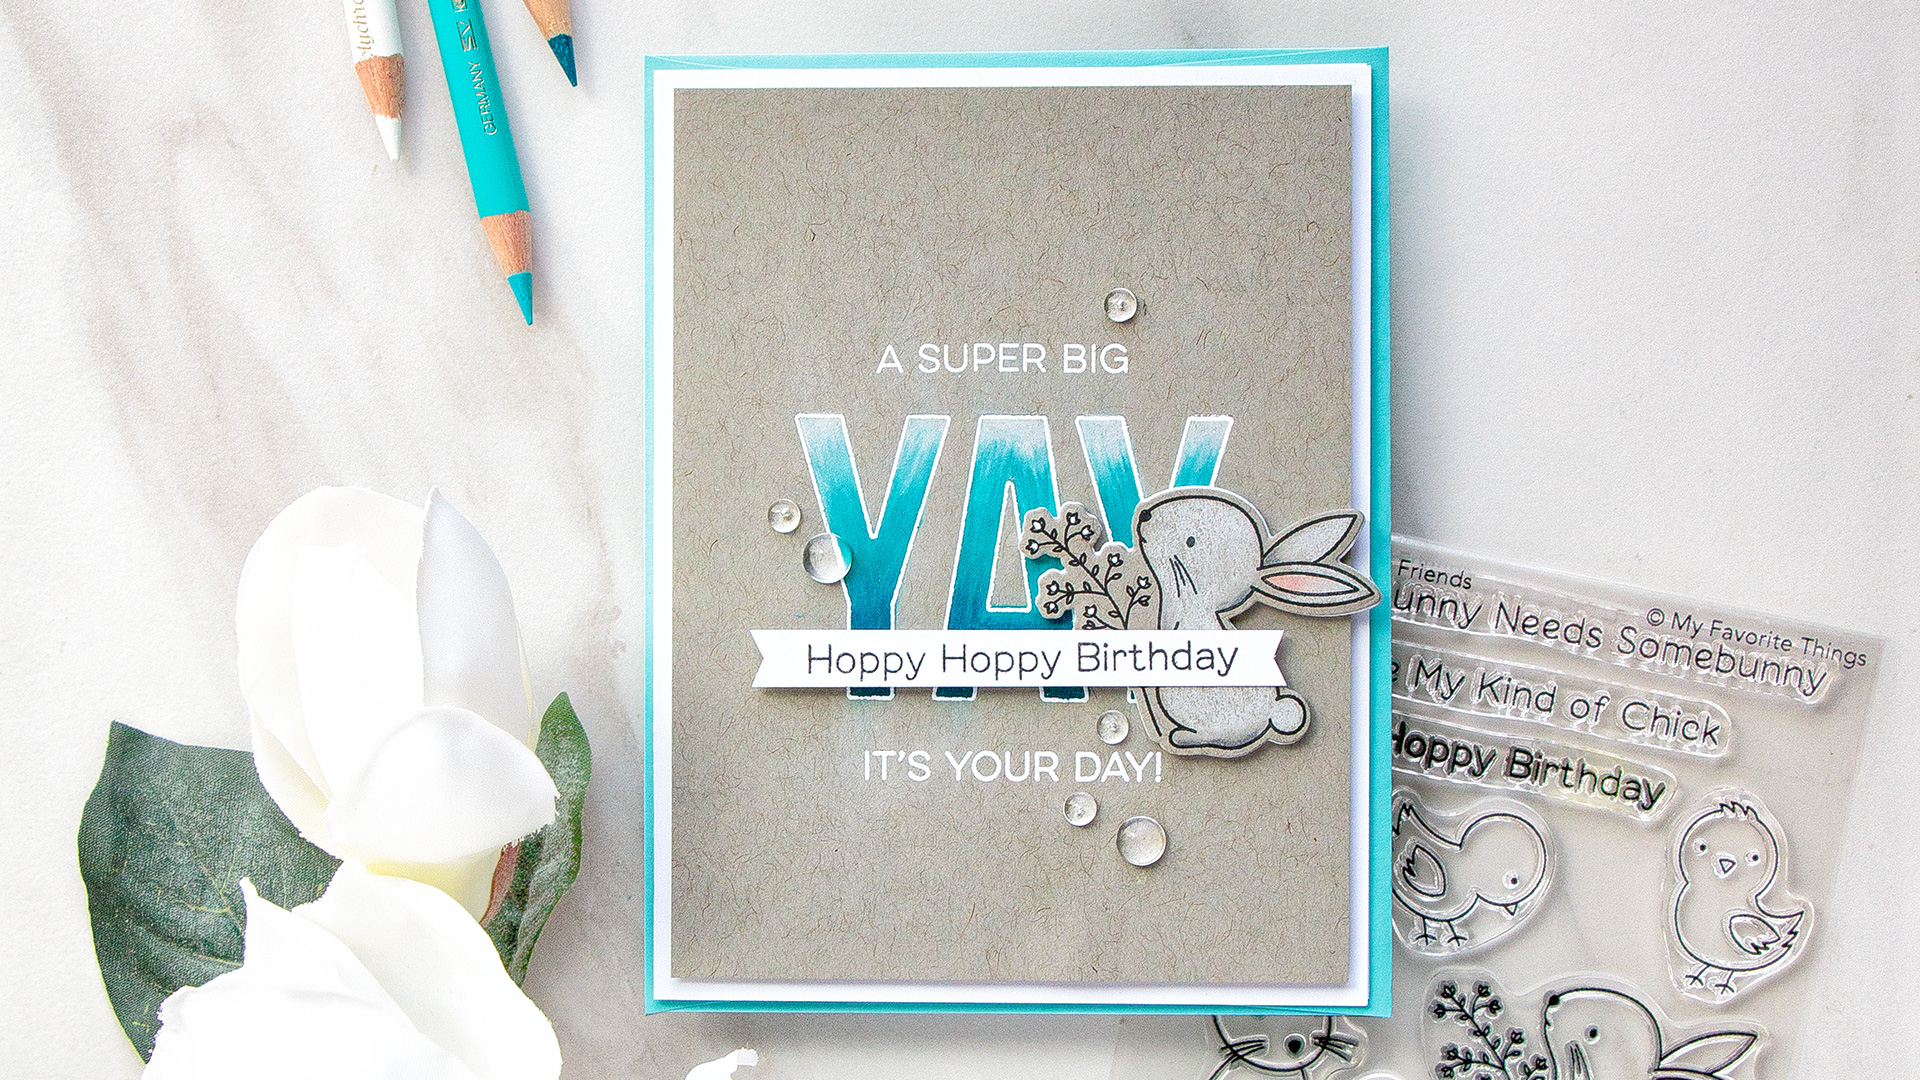
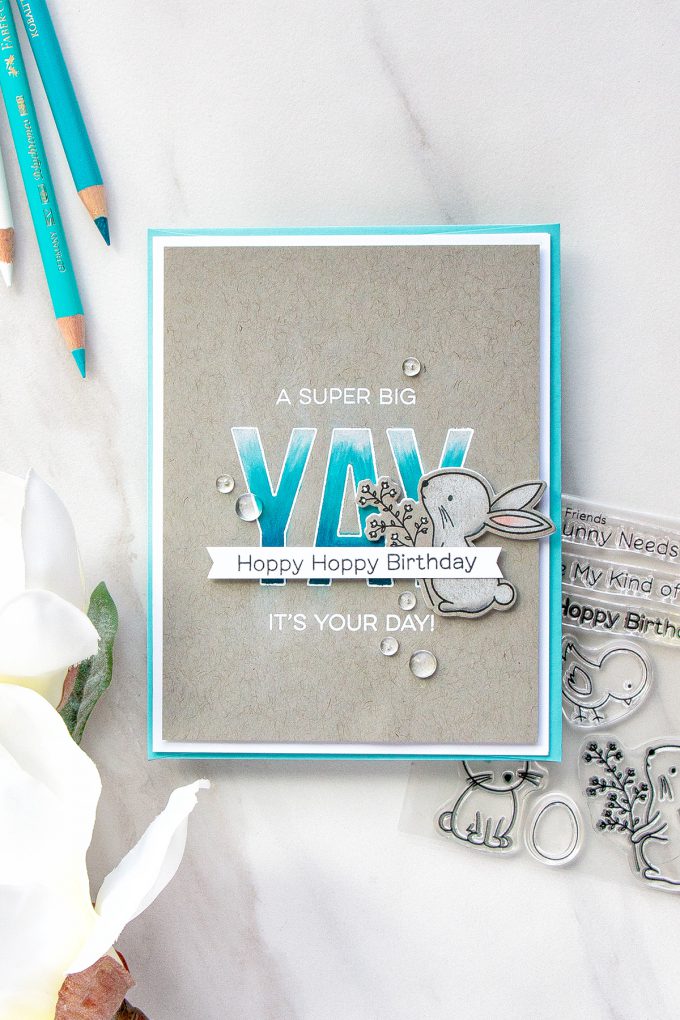
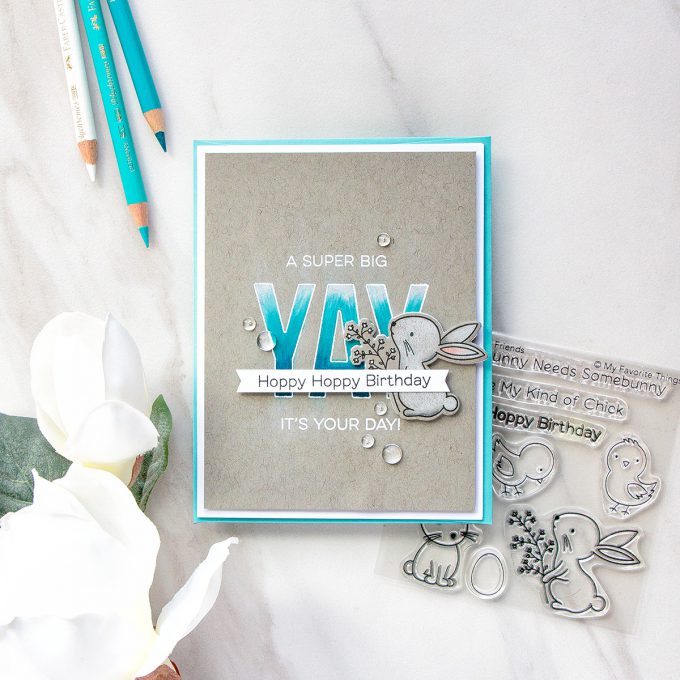
Hello friends! A few days ago I was a guest designer on the My Favorite Things Youtube Channel and I was delighted to share a card and video tutorial showing how to color with Polychromos Pencils. I’ve shared quite a few videos on how to color with these pencils in the past, but this one is, I think, the most comprehensive of all as it explains everything I’ve learned so far in great detail.
Like this project? Pin it and save for later | Curious about my project photography? Click for details.
VIDEO TUTORIAL
As always, I filmed a video tutorial showing how to create this project from start to finish. This video is exclusive to My Favorite Things Youtube Channel.
Like this video? Please give it a big thumbs up (you can do this on Youtube video page right under the video) and share with a crafty friend! Leave me a comment too, I love hearing from you!
CARD DETAILS
I started working on my card by stamping a large “YAY” onto Toned Gray Sketch paper from Strathmore in Versamark watermark ink. I used a stamp positioner tool such as mini MISTI to be able to stamp same image over original one once it was colored.
When you color with colored pencils you need to remember that you’ll need to blend the pencil colors using either a blending solution or the pencils themselves. I always blend my pencils using the pencils themselves and because of this the paper that I use for my coloring matters a great deal. When coloring with pencils you need to use paper that has tooth to it as this is what the pigment from the pencil grabs onto. In a way, it’s the opposite to Copic markers. If your paper is very smooth the pigment will have nothing to grab onto and you’ll have hard time building the layers and blending different colors of pencils together.
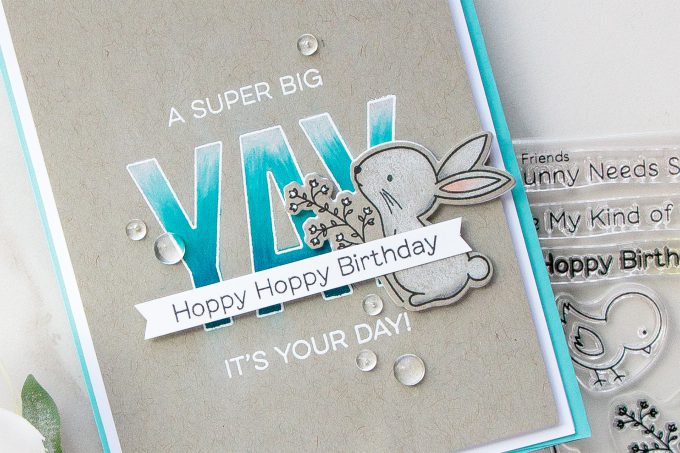
When I color with colored pencils I like to start with my white pencil to lay or map out the highlight areas of my image. With this particular “YAY” I wanted to the top of the letters to be lightest and bottom of the letters be darkest. Next, I added my medium color – Cobalt Green #156 and dark color – Cobalt Turquoise #153. I returned to medium and finally blended everything out with a white pencil.
Once my coloring was completed, I placed the paper back into my MISTI and stamped same image over it in embossing ink and heat embossed in white embossing powder. I also heat embossed “A Super Big” above the message to have my sentiment read “A Super Big Yay”.
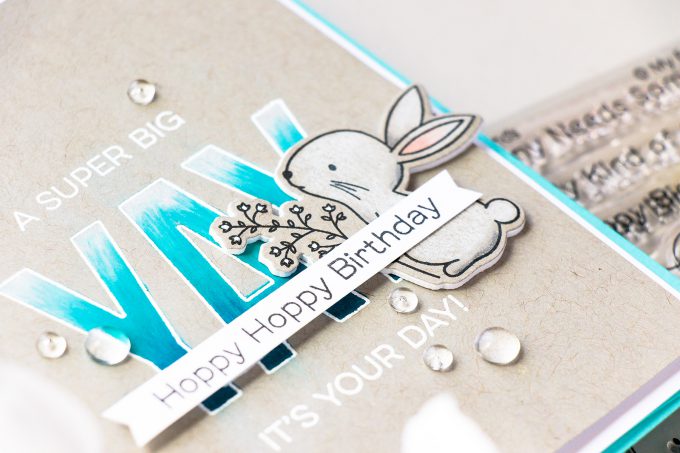
Next, I stamped a bunny from the Hoppy Friends stamp set in the exact same way and colored using pencils. I used: Light Flesh #132, Warm Gray V #274 and Warm Gray II #271. I used coordinating dies and cut the bunny out in my Spellbinders Platinum die cutting machine.
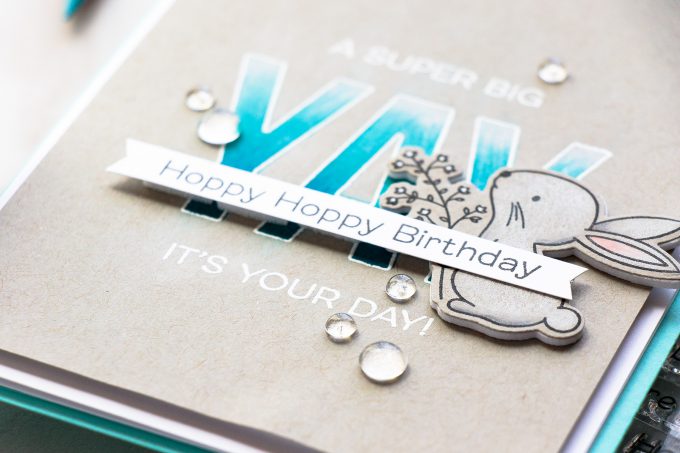
I foam mounted my Yay background piece onto a white A2 card base and foam mounted the colored bunny on top. I also added a “Hoppy Hoppy Birthday” sentiment going across the card partially covering the bunny and the
YAY. Finally, I used clear droplets in small and medium size from Pretty Pink Posh to embellish my card.
SUPPLIES
I’m listing the products I used below. Click on the link to go directly to the product. Where available I use compensated affiliate links which means if you make a purchase I receive a small commission at no extra cost to you. Thank you so much for your support!
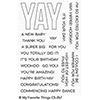 My Favorite Things Yay for You Clear Stamps Shop at: SSS | MFT |
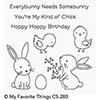 My Favorite Things Hoppy Friends Clear Stamps Shop at: SSS | MFT |
 My Favorite Things Hoppy Friends Die-namics Shop at: SSS | MFT |
 Strathmore 400 Series Recycled Toned Sketch Wirebound Journals Shop at: SSS | AZ | BL |
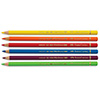 Faber-Castell Polychromos Colored Pencils Individual Shop at: BL |
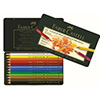 Faber-Castell Polychromos Colored Pencils 12 Piece Set Shop at: SSS | AZ | BL |
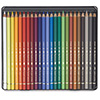 Faber-Castell Polychromos Colored Pencils 24 Piece Set Shop at: AZ | BL |
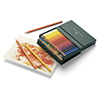 Faber-Castell Polychromos 36 Pencil Studio Set Shop at: SSS | AZ | BL |
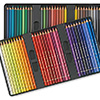 Faber-Castell Polychromos Colored Pencils 60 Piece Set Shop at: AZ | BL |
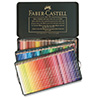 Faber-Castell Polychromos Colored Pencils 120 Piece Set Shop at: AZ | BL |
 Neenah 110 Lb Solar White Cardstock Shop at: SSS | AZ |
 Hero Arts Ink Pad Intense Black Ink Shop at: SSS | SC | HA | AZ |
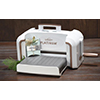 Spellbinders Platinum Die Cutting Machine Shop at: SSS | SC | SPEL | AZ |
 Hero Arts White Embossing Powder PW110 Shop at: SSS | SC | HA | AZ |
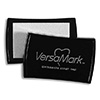 Versamark Watermark Emboss Ink Pad Shop at: SSS | HA | MFT | AZ |
 Mini Misti Stamping Tool Shop at: SSS | SC | MFT | AZ |
 Crystal Ninja Crystal Katana Mixed Media Pick Up Tool Shop at: SSS | AZ |
 White Fun Foam 12 Pack 9 x 12 Shop at: SSS | AZ |
 Scrapbook Adhesives Adhesive Sheets Shop at: SSS | AZ |
 Hero Arts Heat Embossing Gun PW200 Shop at: SSS | SC | HA | AZ |
 ScraPerfect Crafting Pouch Shop at: SSS | AZ |
 Scrapbook Adhesives White Foam Squares Shop at: SSS | SC | AZ |
 Scor-tape 2 1/2 Inch Crafting Tape Shop at: SSS |
 Tonic Deluxe Adhesive Nuvo Glue Shop at: SSS | SC |
 Pretty Pink Posh 4MM Clear Droplets (small) Shop at: SSS |
 Pretty Pink Posh 6MM Clear Droplets (medium) Shop at: SSS |


Soft and beautiful
Another great lesson, Yana. Thank you.
Fabulous card! Your colouring is stunning!
Some great tips on using pencils! I’ve tried the gray toned Strathmore paper and really like it with the pencils. Thanks so much for the tips, tricks and lessons! Happy moving.
Your card is beautiful! I love the look of colored pencils. What sharpener do you use? The one I have seems to break the lead. Thank you for all the tips and tricks.
Another great video and lesson all in one. My results with coloured pencils have been mediocre at best, but I am encouraged by the tips you’ve provided to bring them out and try them again. I totally love the style and design of the card too. Thanks so much.
What a wonderful card! That little bunny is adorable and your colouring of it, along with the yay is just perfect and so beautiful. The colours used on the card are soft and it is a lovely combination too. Thanks for the video with helpful hints and tips too.
Sorry for delay in watching this video, life got in the way, great lesson for us with tons of tips for us so our work, well mine, gets better.x
what size polychromo set do you recommend? They look amazing